Check boxes allow the person signing in to do so more quickly and accurately by selecting multiple options from range of preset answers. Unlike a drop down list, all options are presented on the page without the user having to click to see them. To create a check box list…
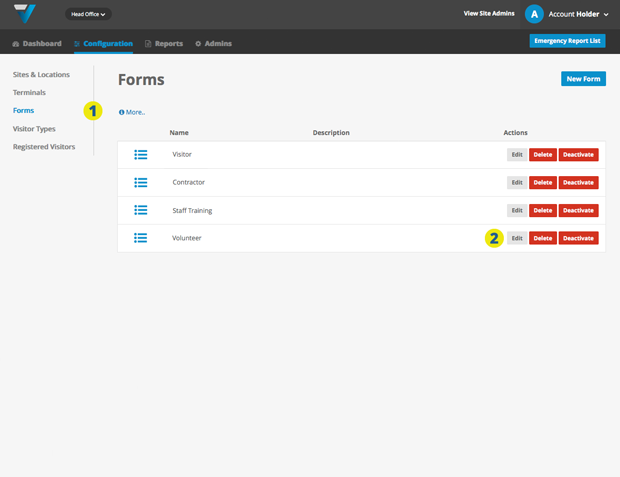
1. Configuration (top bar menu) > Forms (side bar menu).
2. Select the Form you want to edit
3. Scroll down and ensure you are in the Add a Field tab.
4. Click on the Checkboxes button.
5. The Checkboxes field will appear down the bottom of the Form Preview panel.
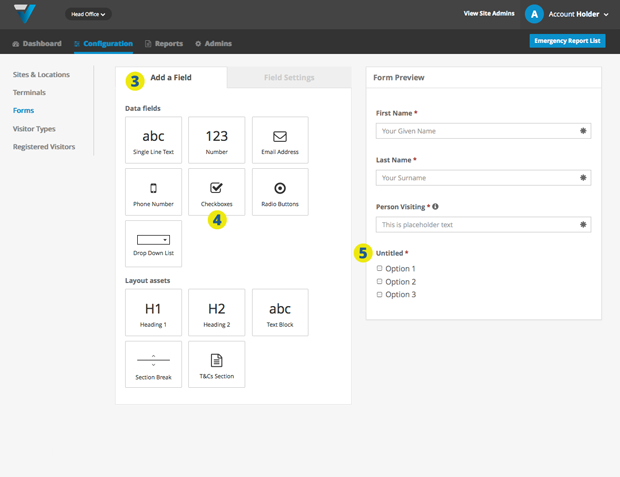
TIP: You can drag and drop the fields to change the order.
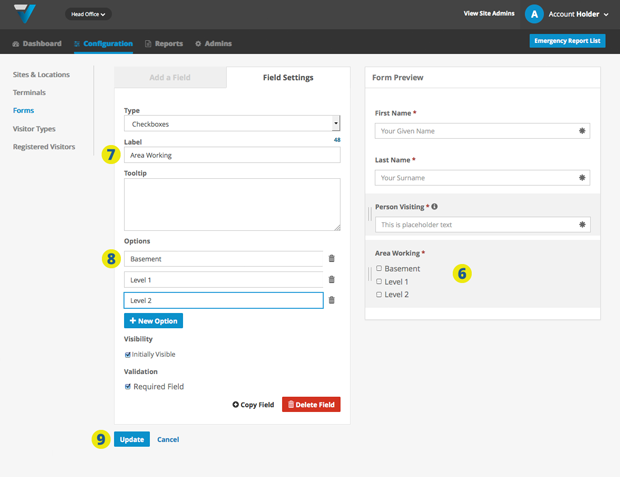
6. Select the field you just created (it should be highlighted in grey).
7. The Field Settings tab comes up so you can make your edits. Under Label, name your field eg: Area Working.
8. Name each individual option for the check box menu eg:
- Basement
- Level 1
- Level 2
If you need more options, click New Option.
TIP: You can move to the next option by hitting the tab key twice.
9. Click the blue Update button down the bottom. The field should update on your iPad in a few moments.
026