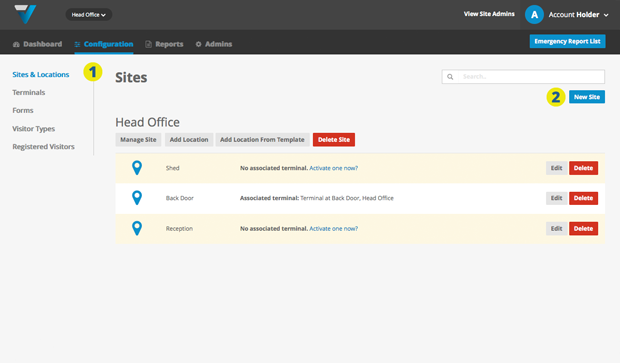
A Site is a separate campus or geographical place. Your VPass account can have more than one site.
To create a new one, go to Configuration (top bar menu) > Sites & Locations (side bar menu) (1).
2. Click the New Site button (top right).
3. Name the new Site.
4. If you are using a printer, select the checkbox.
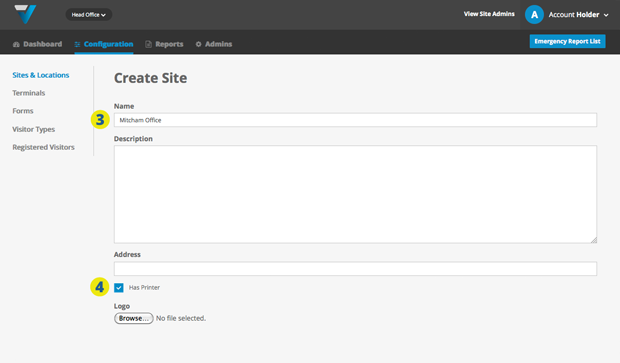
5. Add a logo that is specific to the Site. This will override the logo set in the Account page (App Theme Settings tab).
6. For your own reference, select an admin person who is the site manager (optional).
7. Select the timezone relevant for where the site is located. Visitors signing in at an iPad at this site will then have their records stamped in the correct local time.
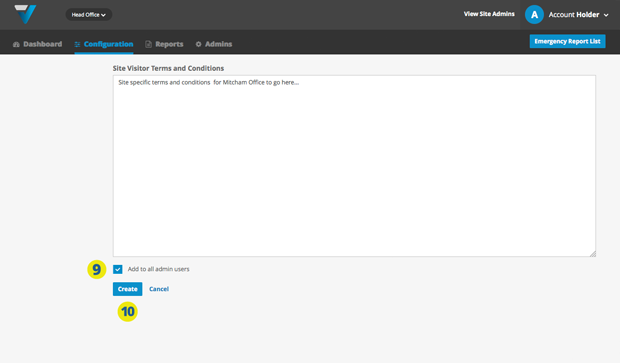
8. If you have Terms and Conditions that are specific to the new site, enter them here. To get started, you may want too use our terms & conditions template.

9. Elect if you want all Admin Users to have access to the site. If not, you can set up specific Admin User access on your Admins page (see steps 12 & 13).
10. Click Update.
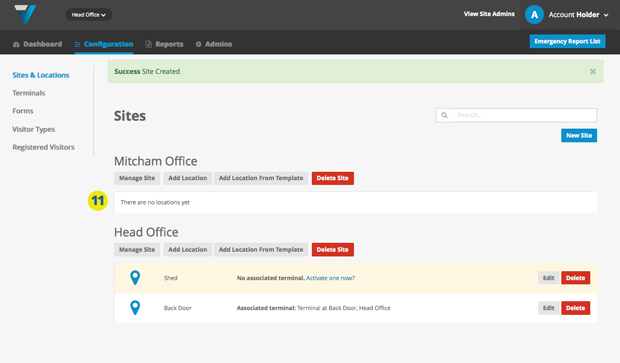
11. Your new Site is listed here. To make it fully functional, you will need to add a Location and then activate a Terminal (iPad) for that Location.
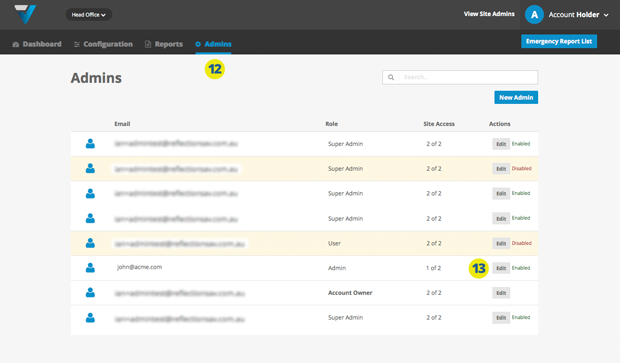
If you have multiple admin people, you may need to give them access to the new Site.
12. Go to Admins in the sidebar menu.
13. Click Edit and at the bottom of the page, select the relevant checkbox to enable them access.
020