1. Download the Brother Quick Setup Guide here.
2. Go to the section in the bookmarks titled Installing the Software > For wireless network interface users. You will need:
- Wi-Fi network name
- Wi-Fi network password (Network Key)
3. Temporarily connect a USB cable between the Brother printer and the computer that you will be using the VPass Admin with. Follow the steps in the Quick Setup Guide and install the printer’s software from the CD.
4. The printer’s Wi-Fi status should have a green light.
5. The print feature is compatible with all Visitor Types (including Sign in Only and Sign out Only). It needs to be turned on in the VPass admin, Visitor Types page – more information available here:
6. On the iPad ensure that you have the latest version of VPass 2 installed (v1.3+).
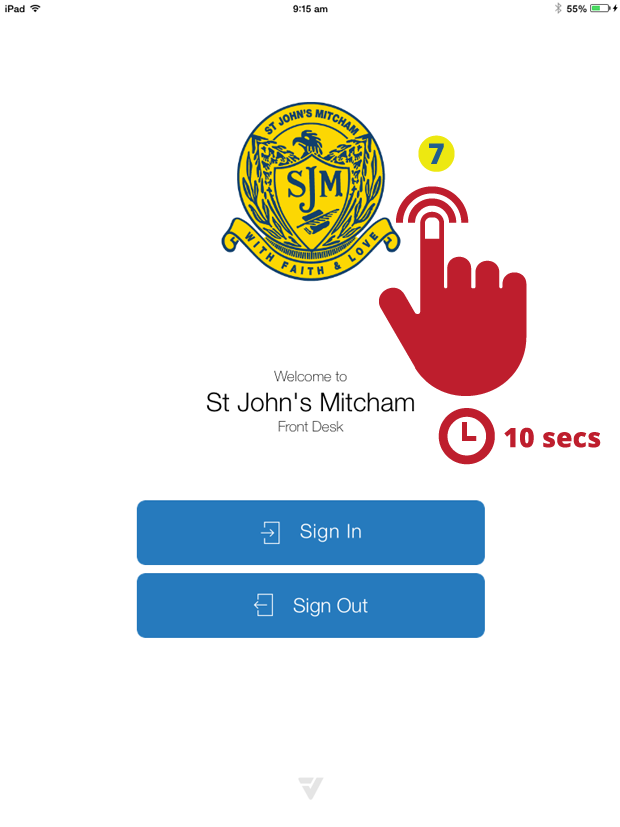
7. On the iPad, go to the VPass App homescreen and touch anywhere and hold for 10 seconds.
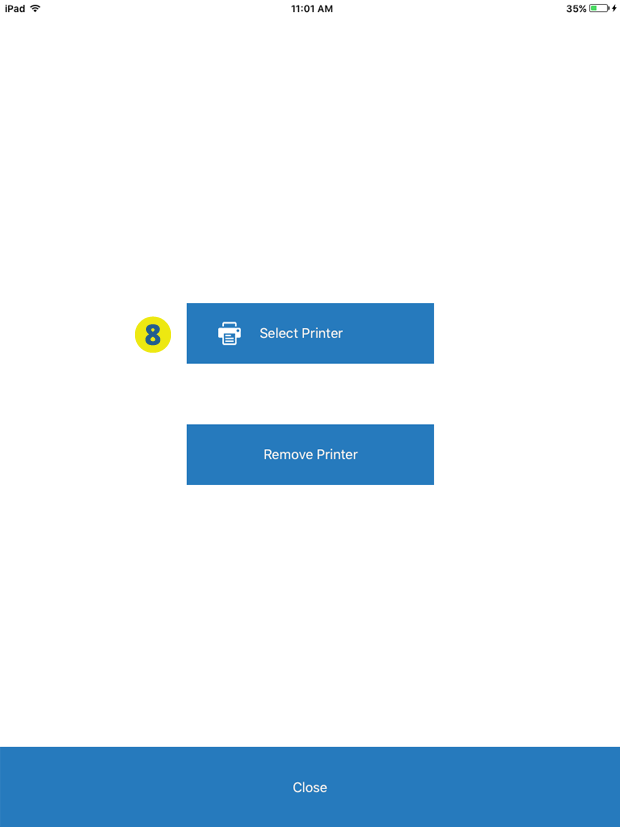
8. The print setup screen appears. Touch Select Printer.
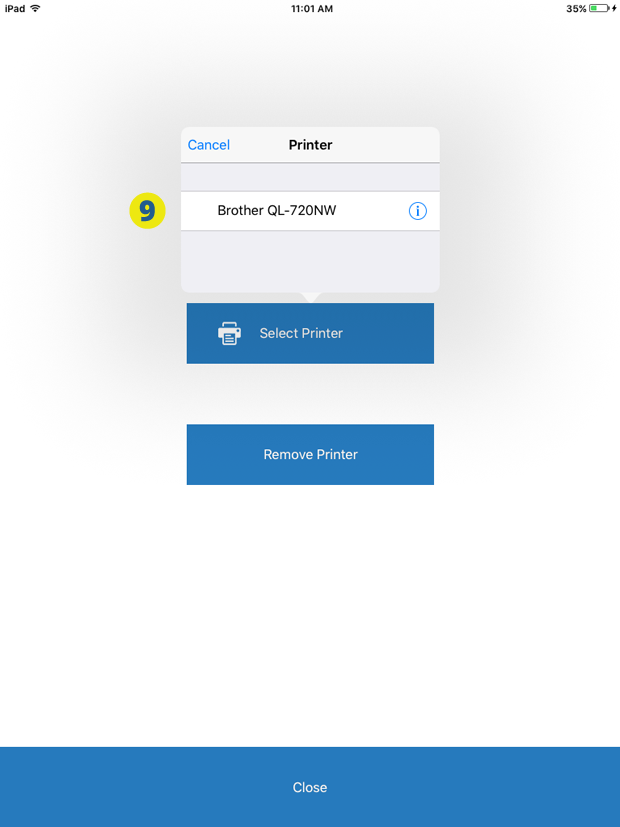
9. Select Brother QL-720NW.
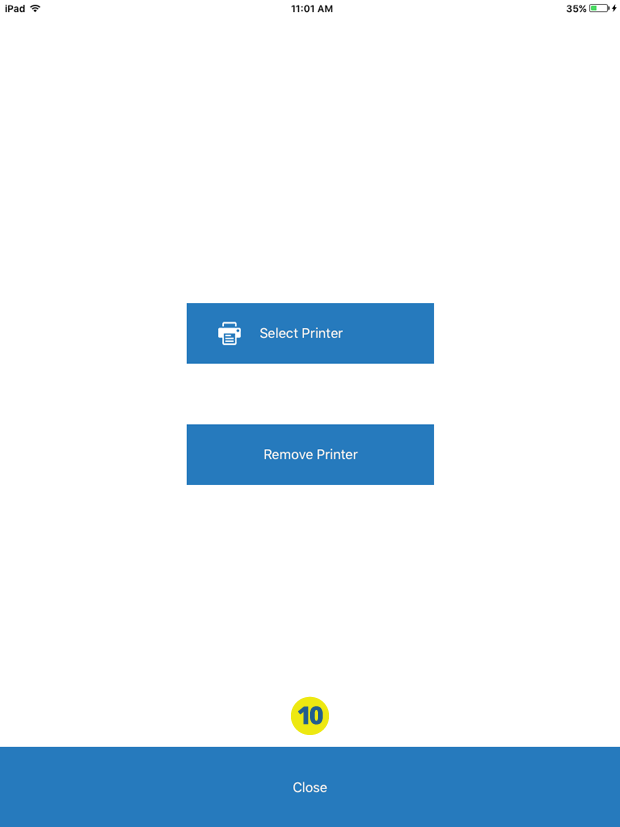
10. Touch Close.
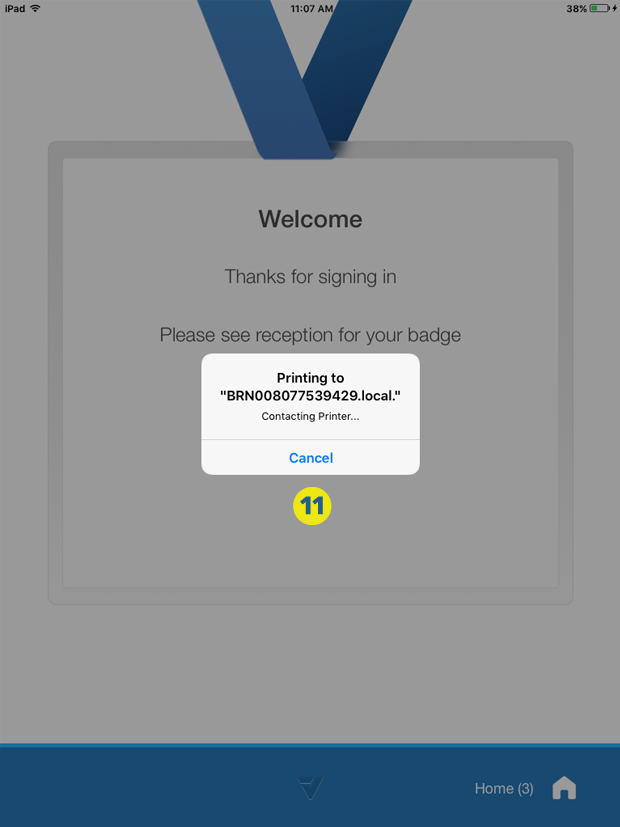
11. When the visitor signs in and out of one of the visitor types configured to use the printer, they would fill out any forms and signature page as normal. At the very end they will come to this screen (below) with a message saying printing is underway. The badge should print within 20 seconds.
12. The printed badge will print the Date, Time, Visitor Name, Organisation Name, Visitor Type and Custom Field of your choice from the drop down options. For Auto Generated Visitor Types a Badge Number is also added in the bottom right.
[OPTIONAL]
13. If you get high volumes of sign ins at certain periods, it may be beneficial to configure your printer to use IPv6. This will greatly improve print times.
For configuration instructions, please refer to this article.
051